

Coming up with a gift idea for someone can be really hard, especially when you want the gift to be personalized and small. Whether you’re trying to make something for someone for financial or sentimental reasons, an easy holiday box might be a great idea. This gift is perfect if you are trying to get lots of people presents, such as your sports team or your coworkers. Chocolates and paper are cheap and easy to find. Handmade gifts show that you put time into making them, which signifies how much you value the person you give them to. So, let’s get to cutting and make some people’s day!
Materials:
- Multi-colored thick card paper
- Ruler
- Sharpie
- Scissors
- Double-sided tape
- Ribbon
- Ghirardelli chocolate squares
Steps:
- First, you will want to get your piece of paper, a ruler and a sharpie.
- Use the ruler to measure out 7 inches by 4¼ inches. Use the sharpie to draw along the edge of the ruler.
- Cut out the rectangle using scissors.
- Hold the ruler against the longer side and measure two inches. Where the two-inch mark on the ruler is, place a line.
- Draw another line one inch higher using the ruler to guide you.
- Turn the paper and measure across the short side. Draw a line one inch deep that connects to the previous two lines.
- This should form a square.

- Cut up along the two lines with the long side facing you. Only one side should still be connected.
- Turn the paper around so that the other long side is facing you and repeat steps four through eight.

- The long end of your paper should go as follows: 2 inches, 1 inch, 2 inches, 4 inches.
- Look at the side that is 4 inches long on the end of the newly made square.
- Draw a line one inch deep and two inches long.
- Do the same for the other side so that it looks like this:
- Then cut out the two by one-inch pieces and set them aside for later.
- Now fold the sides inward by an inch (where the cut marks should be).
- Fold the long two-inch top part twice. And fold longwise where the squares are.
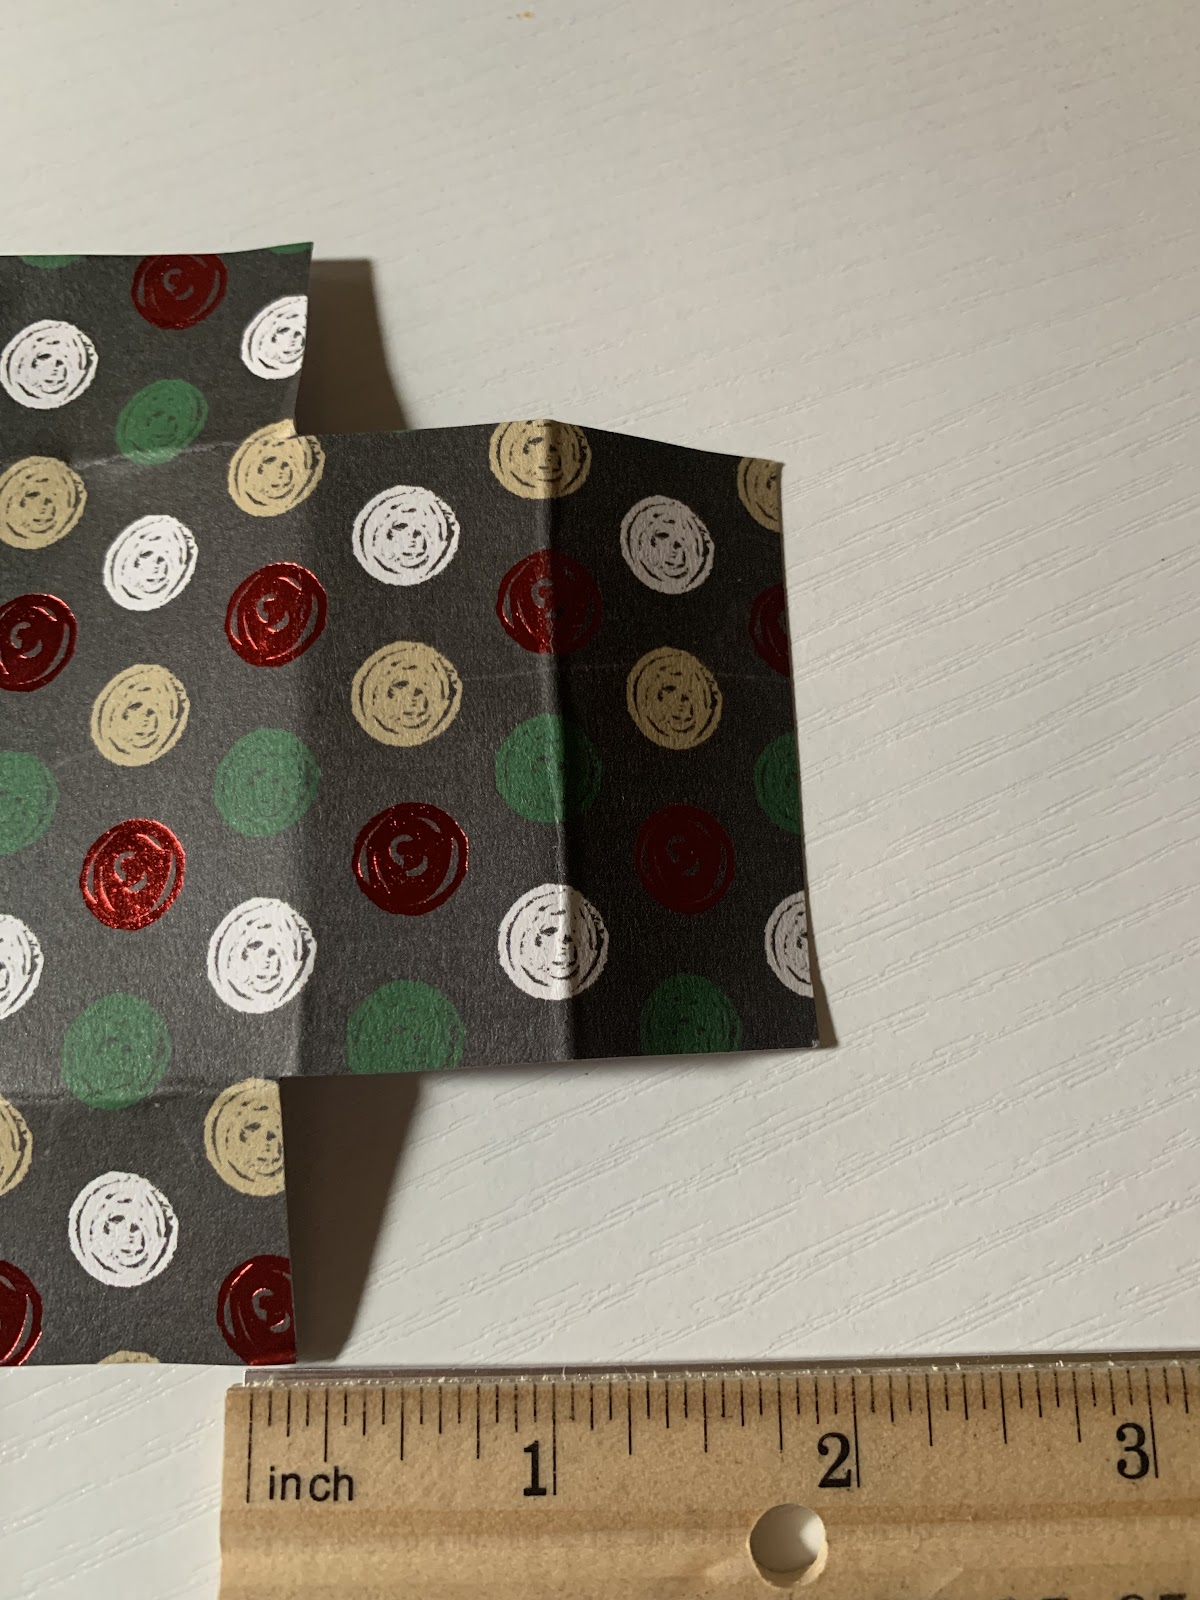
- Unfold the paper so that it remains creased. It should look like this:

- Now you have your template.
- Keep this outline to make other boxes so that you don’t have to measure it out every time. (All you have to do is trace it!)
- Place the white (or dull) side facing up.
- With the 4¼-inch end facing you, put the double-sided tape on the far two-inch strips on both sides and the squares.
- Fold the squares straight up.
- Next, fold the closest two-inch rectangle on both sides where the squares can attach to the back of them. It should look like this:

- Fold the remaining two-inch sides up over the other two-inch sides. It should look like this:
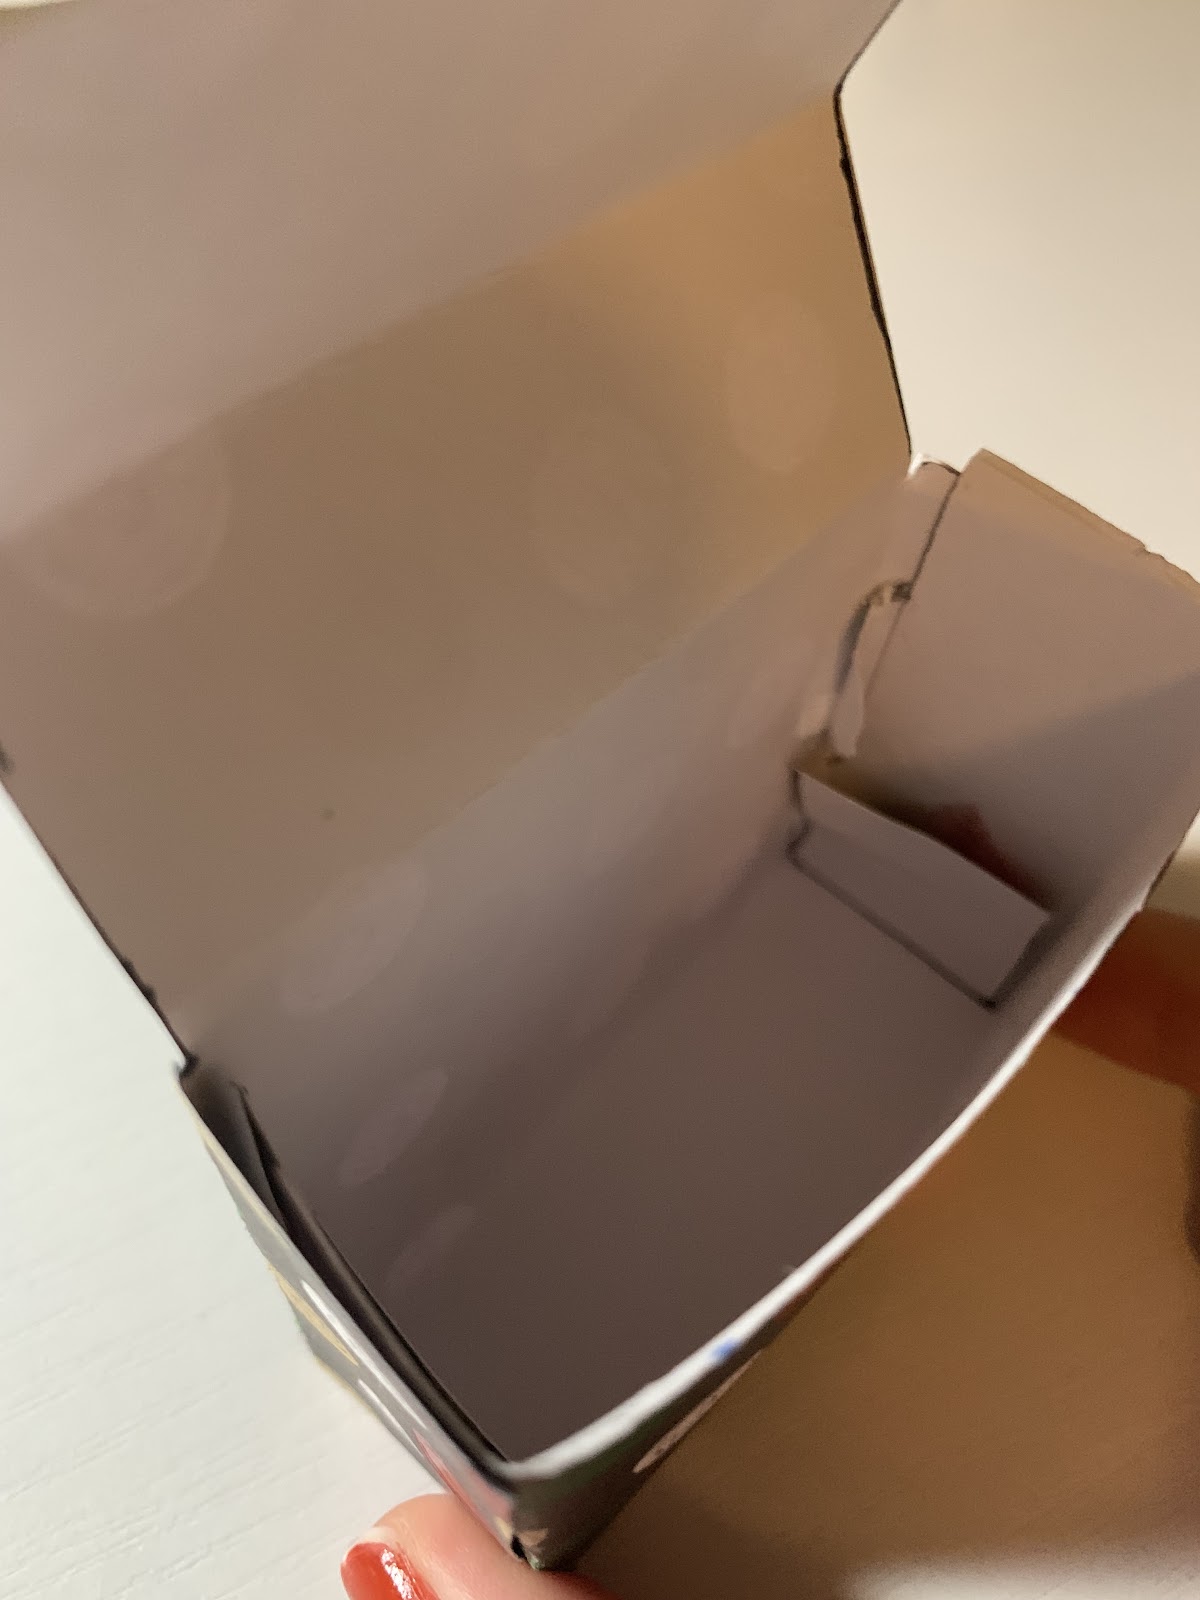
- You can fold the large flap down into the opening to form a box.
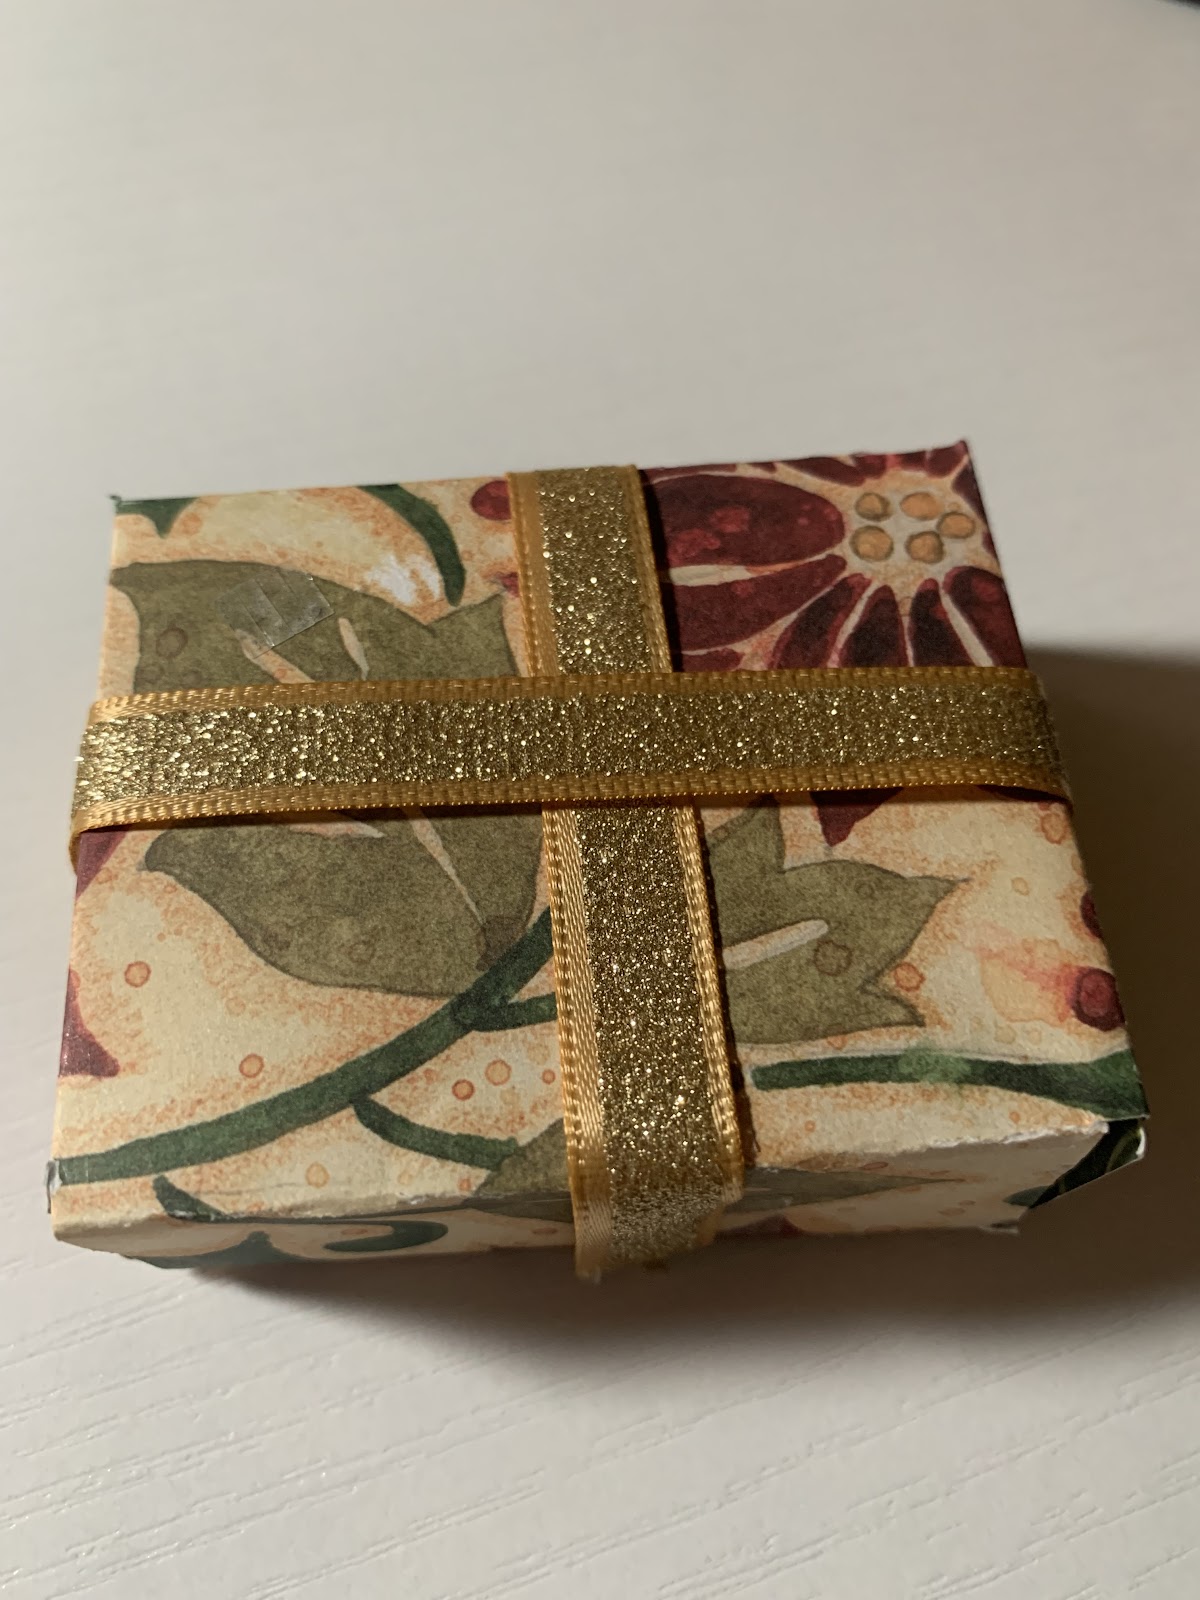
- Now you can add any decoration you like to the box but let’s start out with something simple. Get the ribbon and use the double-sided tape to attach it.

- Tape more ribbon the other way to make it look like this:
- Use the leftover two by one-inch pieces of paper and fold them and tape them to the box. This is a cute way to write a simple note or a to and from header.

- Now you can use a stick-on bow, tie a bow out of ribbon, or come up with another way to bring your little box to the next level.

- Open up your box and place some Ghirardelli chocolates inside (or whatever you want).

- Congrats! You just made your first chocolate box!


